
In this tutorial, we'll learn how to shorten or lengthen the Océane top/dress to fit people who are under 1.68 m tall.
The cut of the Océane dress should be closer to just below the bust than to the waist, but it isn't exactly under the bust. It's this unique feature that gives it its glamorous look!
A general tutorial on shortening a sewing pattern is available here; we recommend that you review it before tackling the specifics of the Océane dress.
There's also a general tutorial on extending a sewing pattern is available here and will help you better understand this one.
In this tutorial, we’ll shorten the Océane pattern by 2 cm at the underbust seam. To lengthen it, simply reverse this process. The specific instructions for the Océane pattern begin in Step 4.
Lengthen/shorten the "Front" piece
Step 1: Locate the “Lengthen/Shorten” line on the pattern and cut along it
All of our patterns have a double “lengthen/shorten” line to help you know where to make adjustments without throwing the pattern off balance.
Start by locating this line, then cut out the pattern along one of the double lines (here we’ve chosen to always cut along the top line, but it doesn’t really matter which one you use).
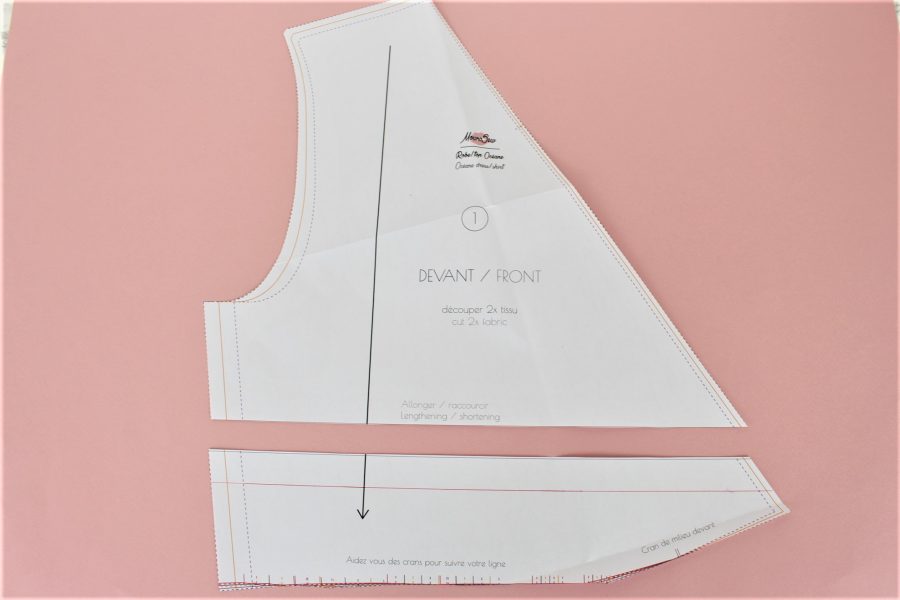
Step 2: Draw a line on the bottom piece
On the bottom piece, measure x cm to be shortened and draw a line. In our example, measure 2 cm and draw a line.
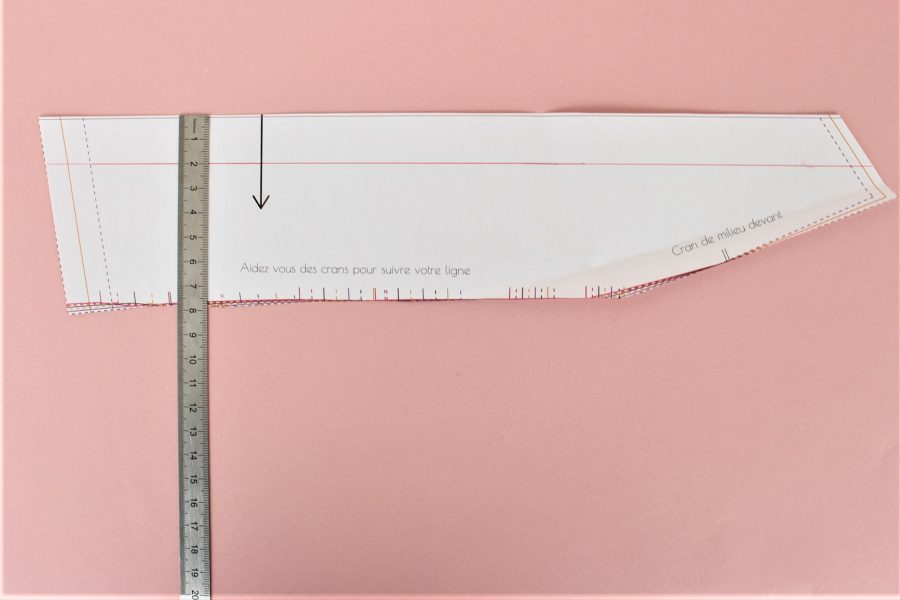
Step 3: Restore the straight line
Align the top piece with the line you just drew, making sure to keep the grain arrow perfectly straight. This is extremely important—the grain must always be aligned correctly.
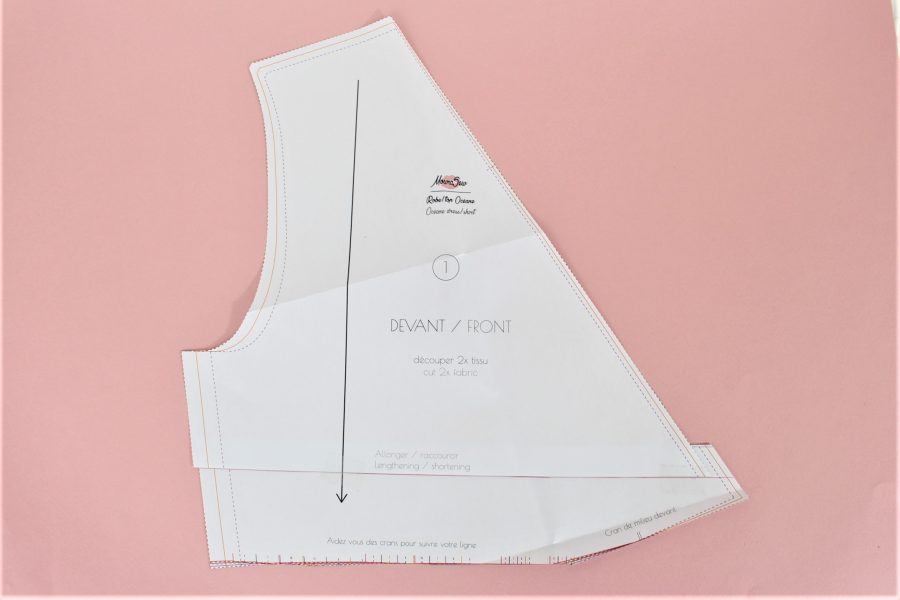
We can already see here that there’s the usual offset on the side, but there’s also an offset on the right!
Step 4: Redraw the side lines
Using a ruler, redraw the side line.
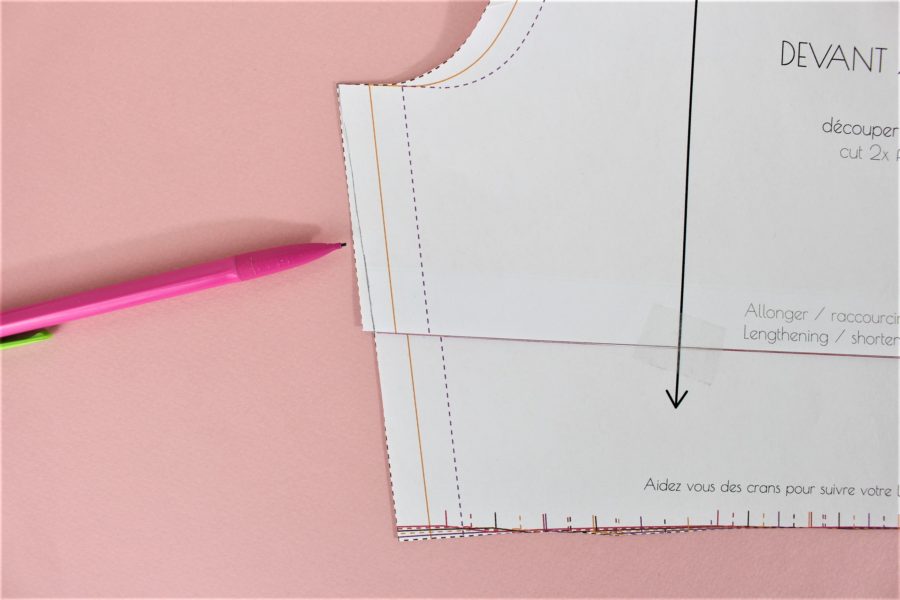
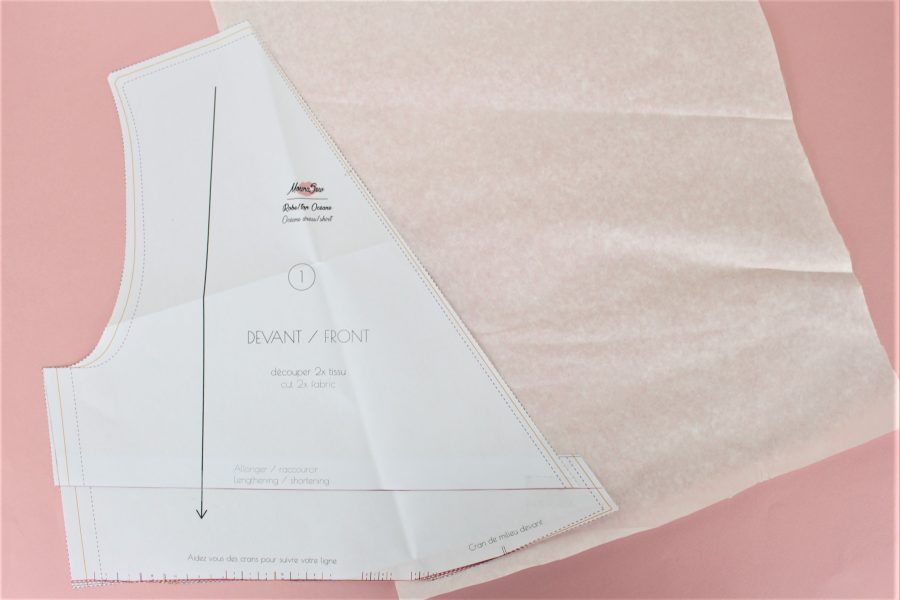
For the other side, however, we'll have to do it in two steps.
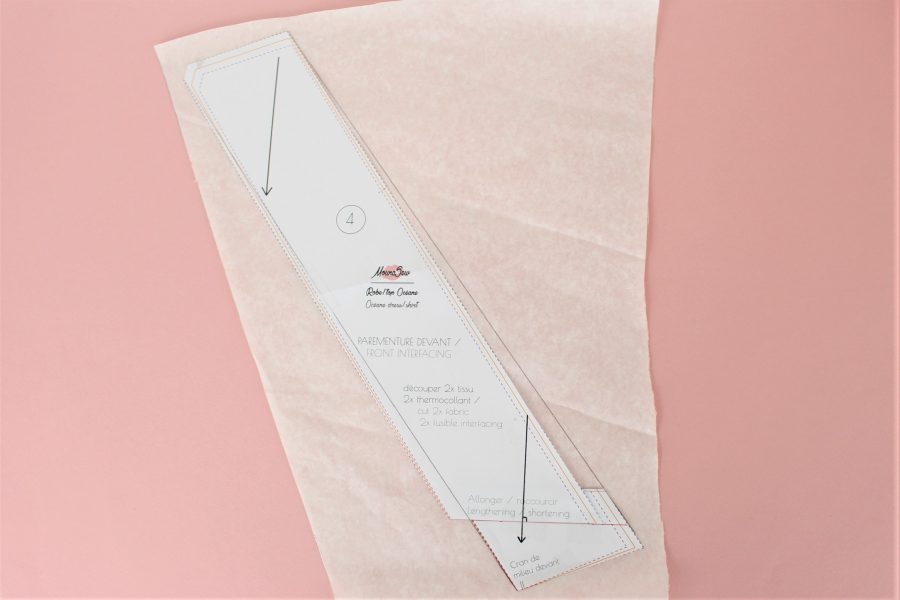
1) Tape the pattern to pattern paper.
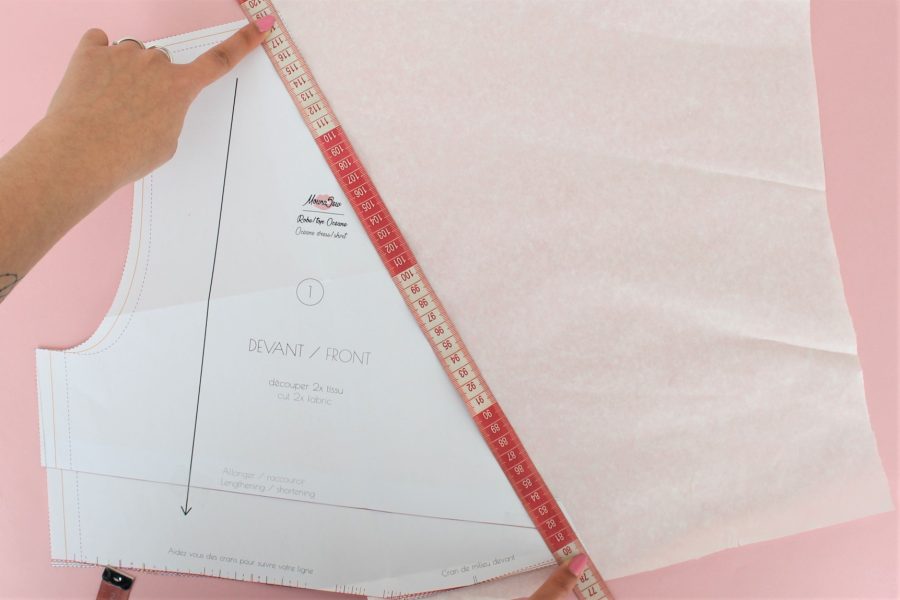
2) Using a long ruler or your measuring tape, draw a line connecting each end.
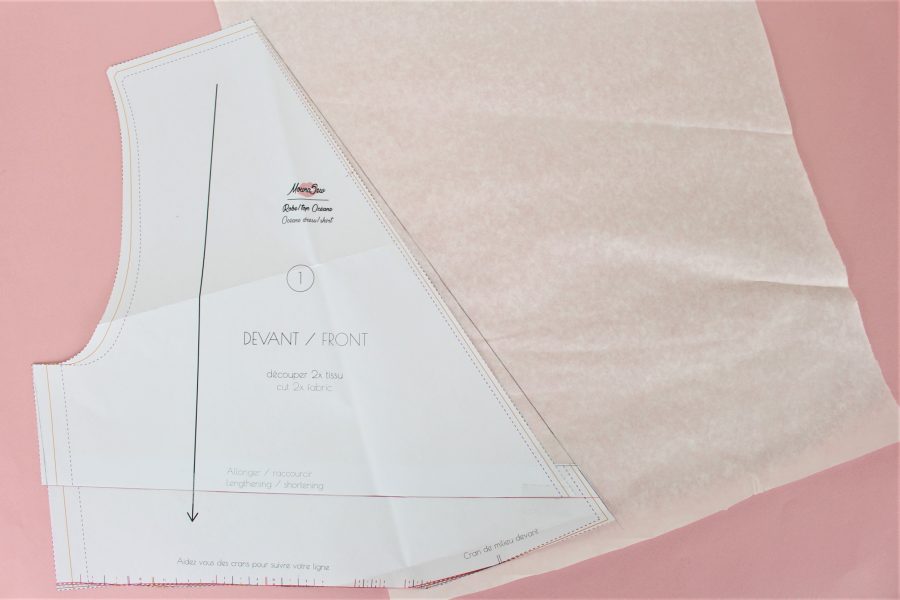
Step 5: Cut along the new lines
All that's left to do is cut out the pattern along the new lines you've drawn.
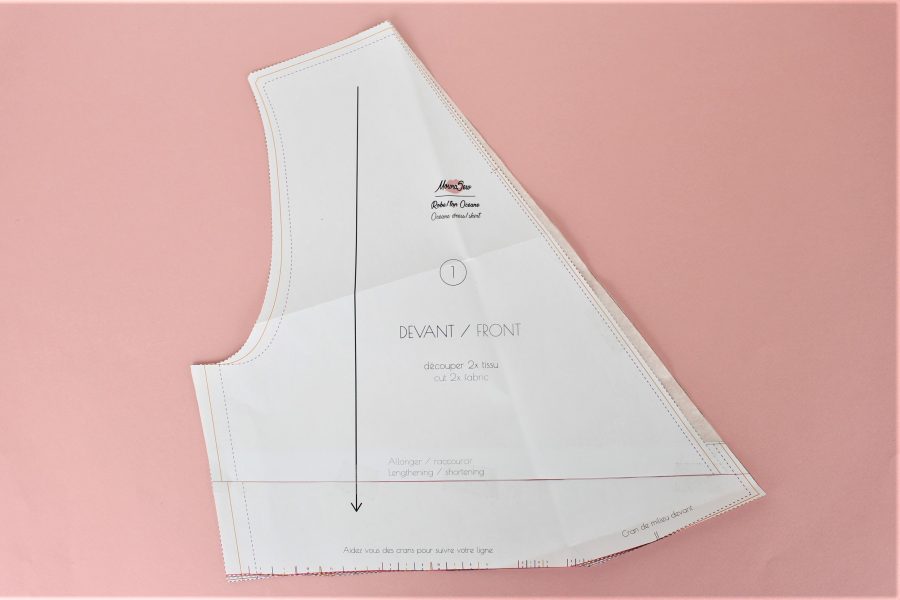
For a neater result, you can trace the entire piece onto pattern paper if you'd like.
Lengthen/shorten the "front facing" piece
Now all we have to do is do the same for the front facing!
Note: In the first set of patterns that were sent out, the grain arrow on the facing was at the top of the piece and did not cross thelengthwise extension/shortening line. You will therefore need to redraw a grain arrow.
To do this, draw a line perpendicular to the lengthwise extension/shortening line. Then extend that line.
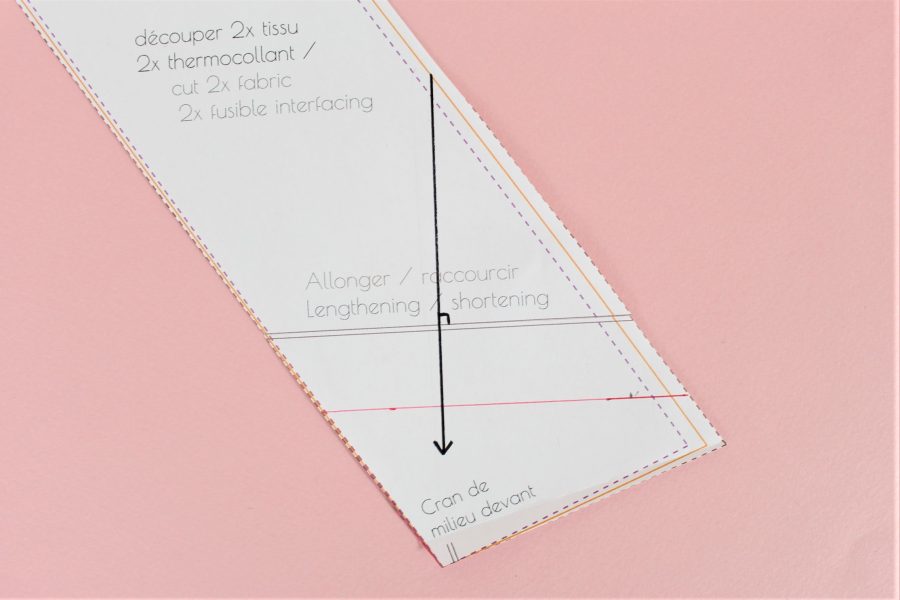
We'll go through the explanations a little more quickly here because the principle is the same as for the "front" piece.
Steps 1 through 3 are identical. We end up with this:
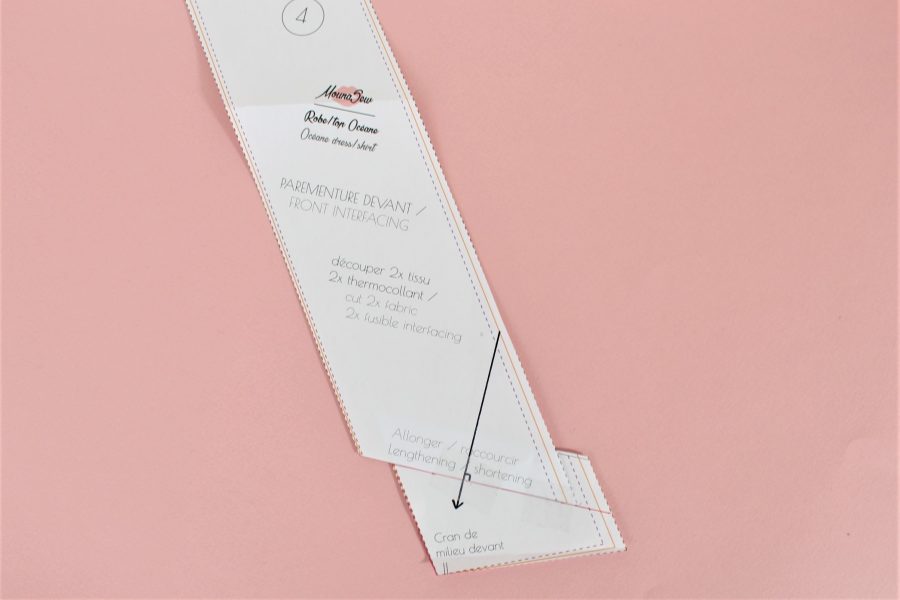
Here, too, we'll connect the ends together.
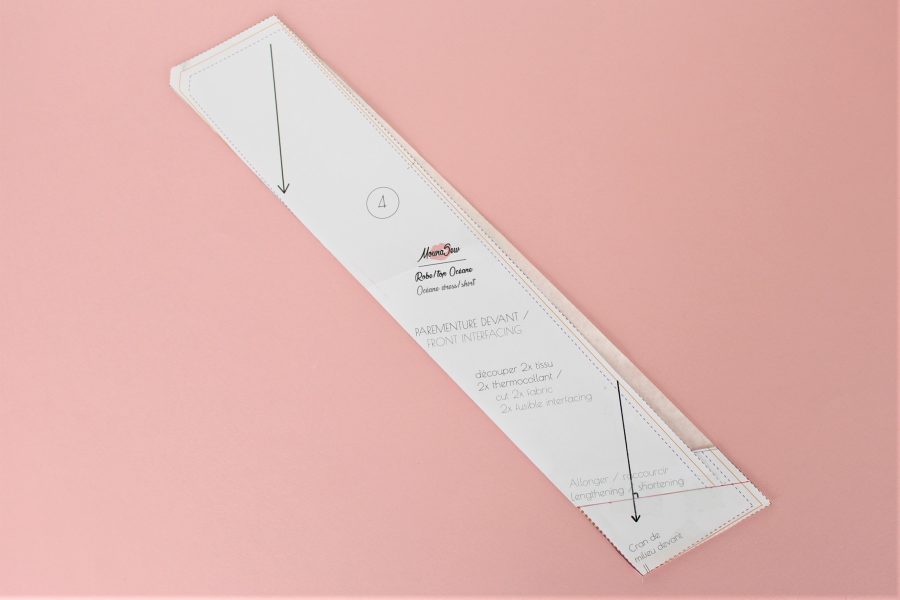
Then we cut the piece along the new lines.
Lengthen/shorten the "Back" piece
Finally, you’ll need to shorten the “back” piece. Since this is a standard procedure, please refer to the tutorial on shortening a pattern.
Happy sewing!