
Discover snap fasteners you can attach by hand!
In the 2025 advent calendar, we introduced you to a sewing notion unlike any other: magic snap fasteners that require no tools to attach!
Easy to install, sturdy, and effective, these buttons will quickly win over your sewing heart.
Summary
- The fastener consists of 4 parts
- Carefully pierce your fabric with scissors or a seam ripper where the buttons will go
- Press between your fingers until you hear a "click"
- The snaps are in place!
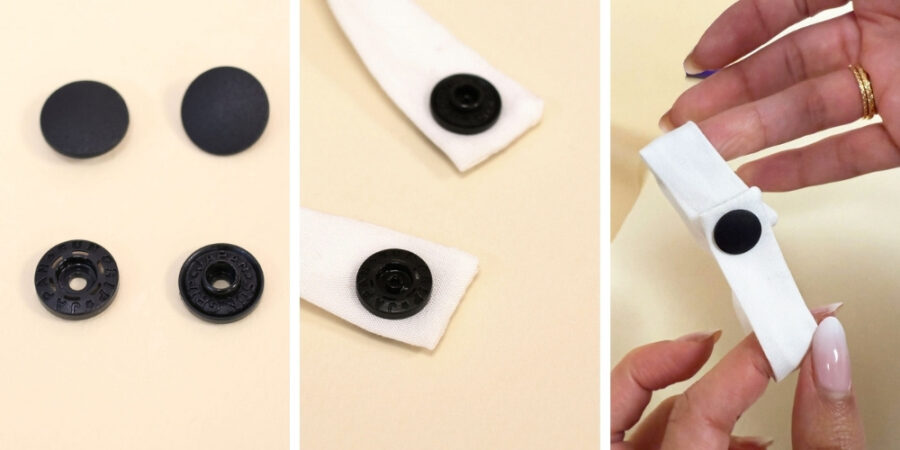
One snap fastener = 4 parts
The snap fastener is made up of 4 elements:
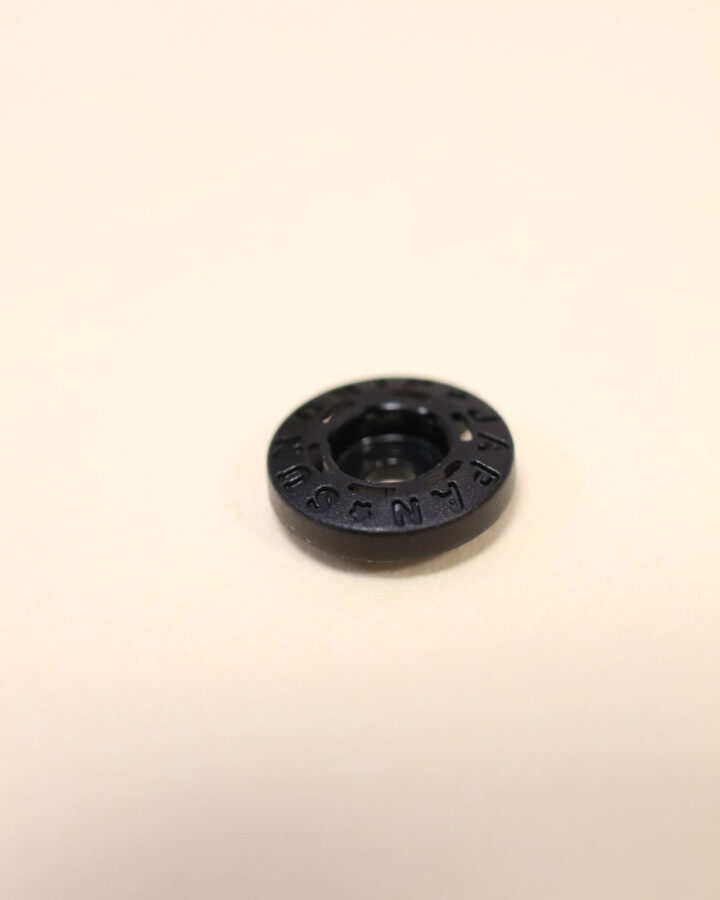
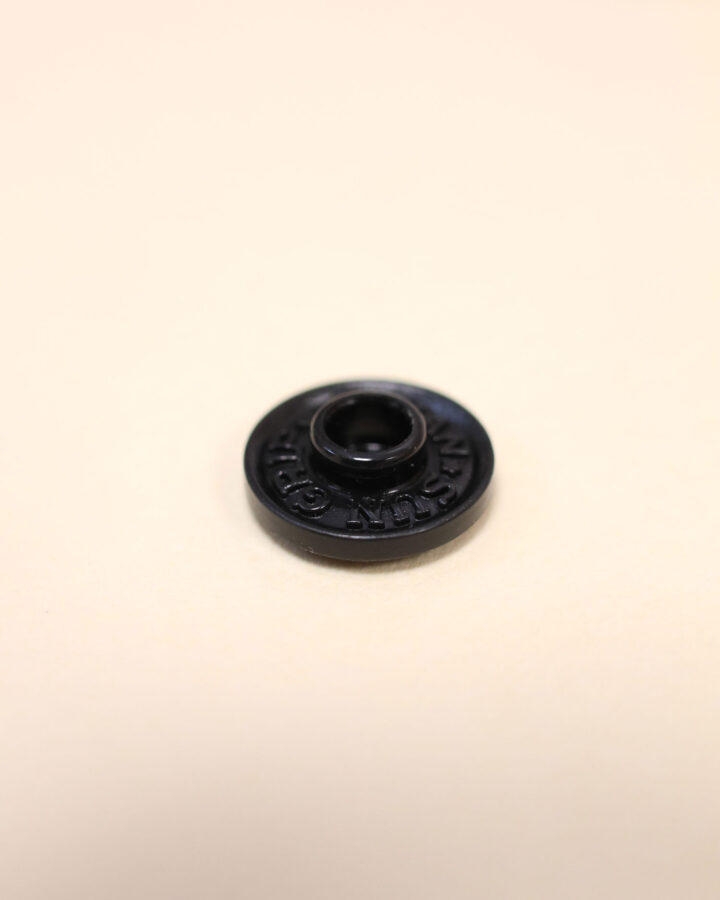
- Tip 1, which makes up the right side of your fastener
- Tip 2, which makes up the left side
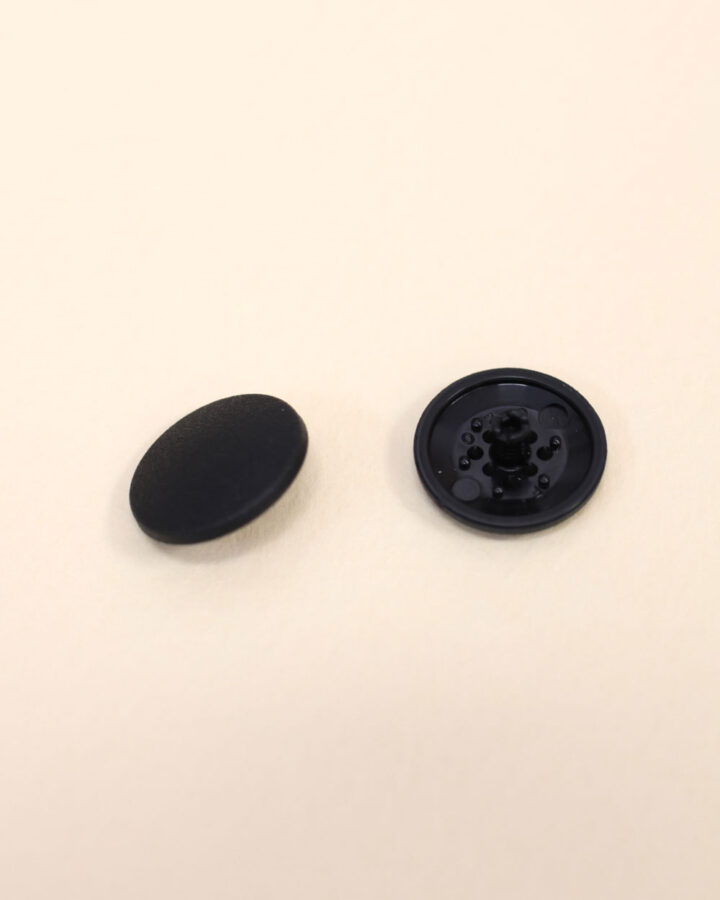
- 2 caps to "lock" the tips in place
Where to place your fasteners?
Generally speaking, we recommend placing your fasteners at regular intervals.
Pin your project where you want your buttons to go and look in a mirror to see how it looks and make adjustments.
Finally, always leave about 1.5 cm between the edge of the fabric and where you will make the hole.
How to attach a snap fastener?
First, you will need to make a hole in the fabric on each side that will be fastened together.
After that, attaching these snap fasteners is a breeze. In just 4 steps, you will have attached your snaps without needing any tools.
- Insert the first piece into the first hole you made in your fabric.
- Place a cap on top of the fabric and pinch it with your fingers.
- Do the same on the other side: make a hole in the fabric and insert the second piece into the hole.
- Place the second cap on top of the fabric and pinch it with your fingers.
Tada! Your snap fasteners are ready to use.
And if you prefer watching a video, check out the Bohin video below: