

Take on the challenge of sewing a fly!
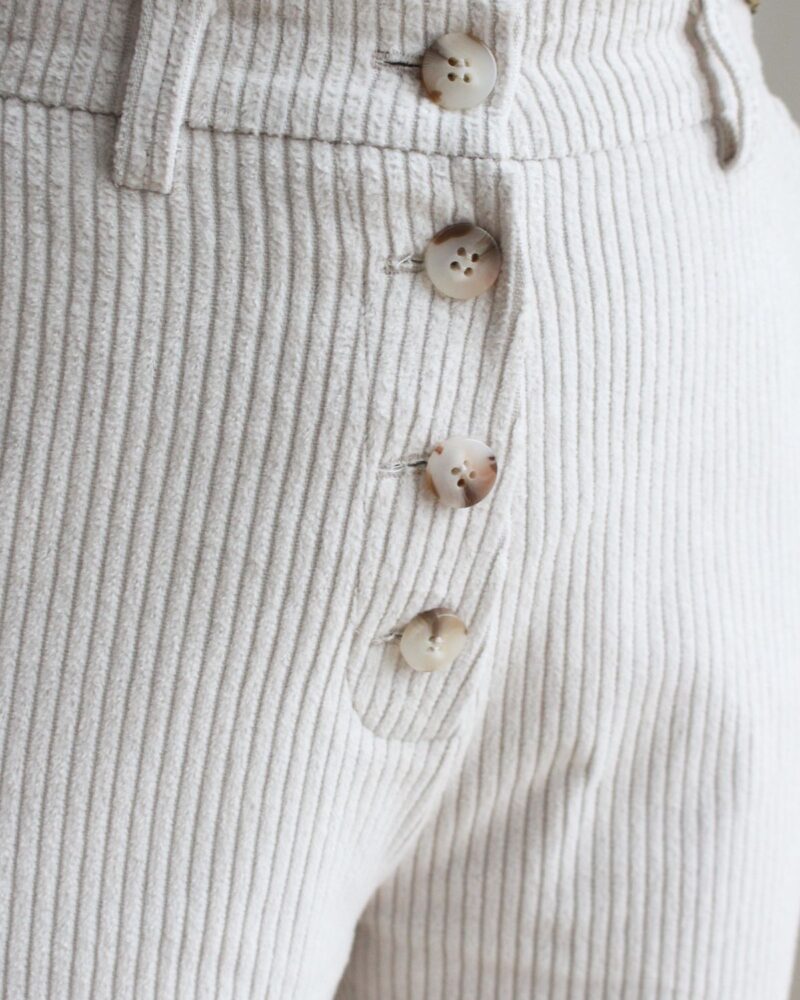
To celebrate the release of our new pattern, the Robbie pants, we’re offering a quick tutorial on how to sew a button fly.
So don't panic—we're here to help you. Take your time, and you'll get there.
The fly consists of only 3 pieces:
Next, decorative topstitching outlines part of the fly (black dotted line), and red topstitching holds the front and the underfly together.
The first challenge is to understand how the fly is made.
At first it seems really strange, but thanks to the previous paragraph, you should have a clearer understanding now, which will make the editing process much easier for you.
The next challenge is to sew precisely to create a nice fly.
The fly is sewn in two steps:
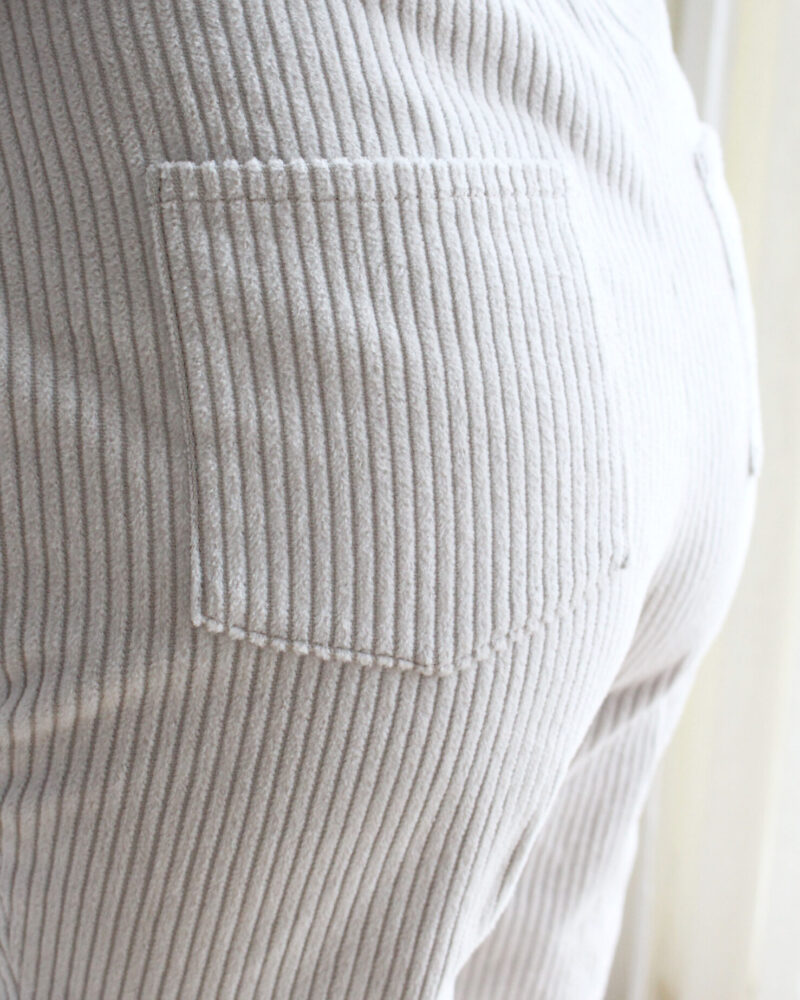
When following the Robbie pants pattern—which features topstitching on the back waistband, the fly, and the patch pockets—you'll need to take great care with the topstitching.
Here are our two tips:
If you'd like to see how to sew a buttoned fly in a video, we've created a comprehensive video tutorial for our Robbie pants on our YouTube channel. Skip ahead to the fly section to see this step in action!
Since 2017, our brand has had one single goal: to help you successfully sew your own clothes while having fun!
That's why we get up every morning to bring you super clear patterns, complete sewing kits, and quality fabrics.
All backed by video tutorials on YouTube to help you along the way!
We'd love to guide you during your visit to give you the best possible experience! Is that okay with you?