

Step 1:
Place the two fabric rectangles right sides together.
Measure 1.5 cm from the top of the cushion and 1 cm from the left edge. Then draw a line 5 cm long.
Then repeat the same process starting from the right edge.
Sew along the two marked lines using a straight stitch.


Step 2:
Open up the seams with an iron. “Opening up the seams” means pulling the fabric apart on either side of the seam, then pressing down on the seam first with your fingernail and then with the iron. This makes the seam look neater.
Here, in addition to unpicking the two small seams, we continue unpicking all the way along. (Ouch, ouch, ouch—I wonder if this part is clear! Good thing there are photos ^^ lol)

Step 3:
Pin the zipper in place as shown in the photo below, right between the two seams you sewed earlier. Don't forget to open the zipper halfway before you start sewing!

Step 4:
Sew the zipper in place using a special zipper-installing presser foot.
A video tutorial is availablehere ifneeded.

Step 5:
Pin the rest of the rectangle right sides together, then sew the last 3 sides with a straight stitch.
Reminder: To sew around corners, insert the needle into the fabric, raise the presser foot, turn the fabric, then lower the presser foot and resume sewing.

Step 6:
Cut the corners diagonally.

Step 7 (optional):
Sew all the way around the cushion, or trim the edge with pinking shears.
Turn the pillow right side out through the opening left in the zipper.


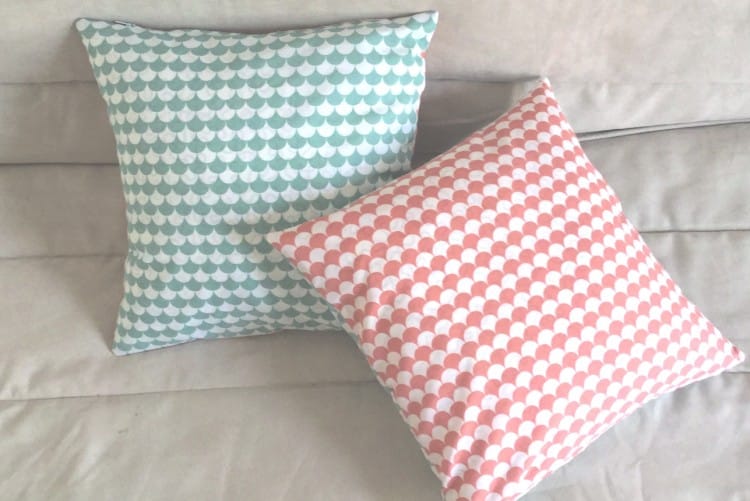
TA-DA!It's already over!

Note: For this tutorial, we chose a 25-cm zipper, but a 30-cm zipper will also work. In that case, simply sew 2.5 cm on each side instead of 5 cm.
The advantage is that the cushion will be easier to insert into the cover.